

© 2025 Jimmy Thomson. Powered by Synergy Spark
The First Anzacs
Australian Engineers at War 1914–1918
Scroll to view · Tap any image to enlarge
Image 1 of 20
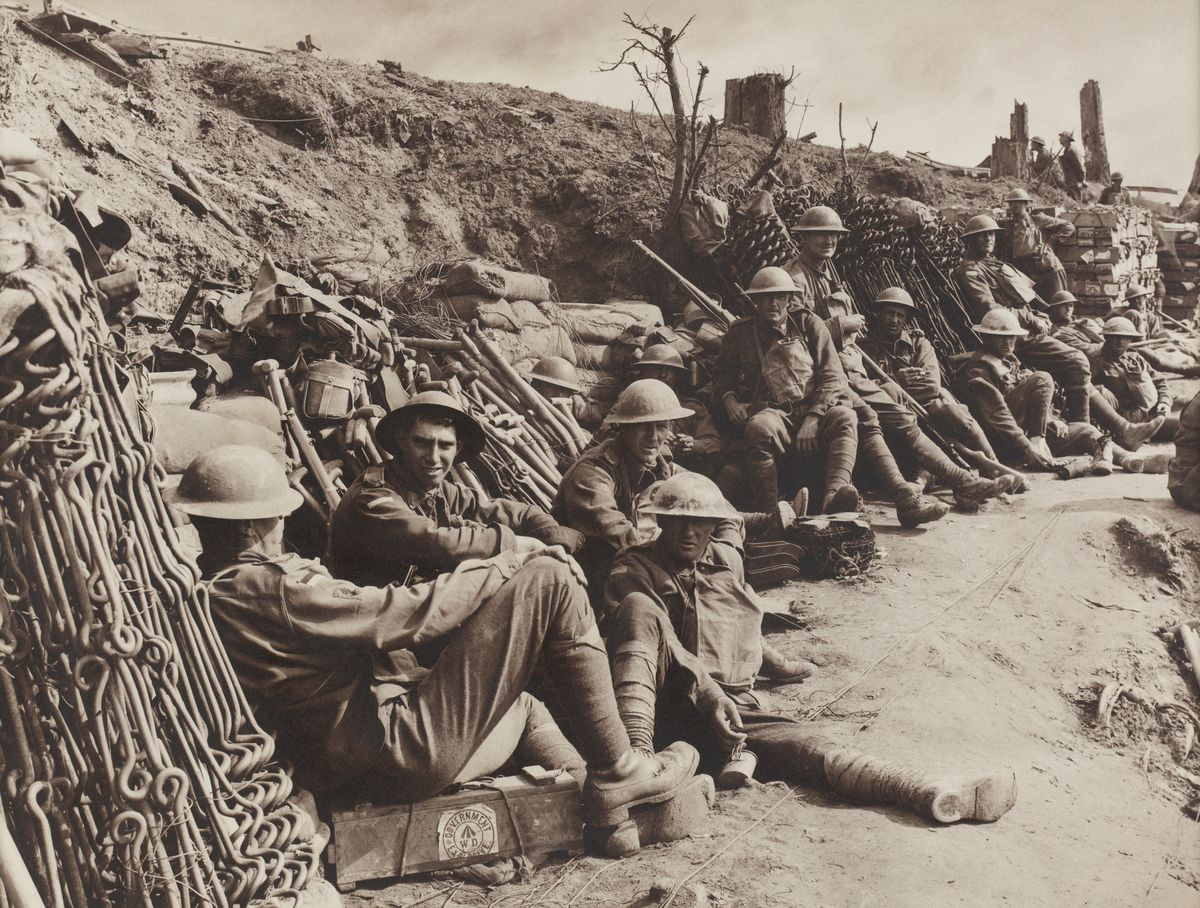
The eve of battle
Image 2 of 20
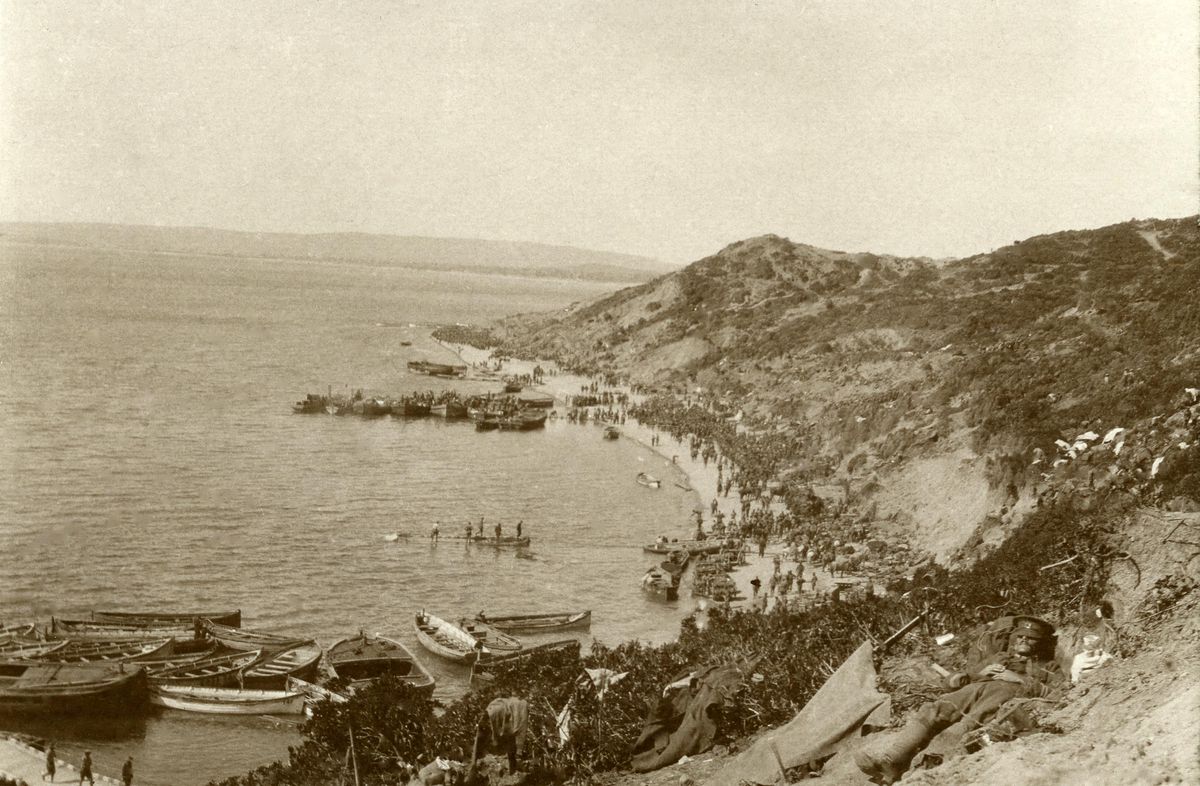
Landing at Gaba Tepe, Gallipoli
Image 3 of 20

Catherine Job
Image 4 of 20
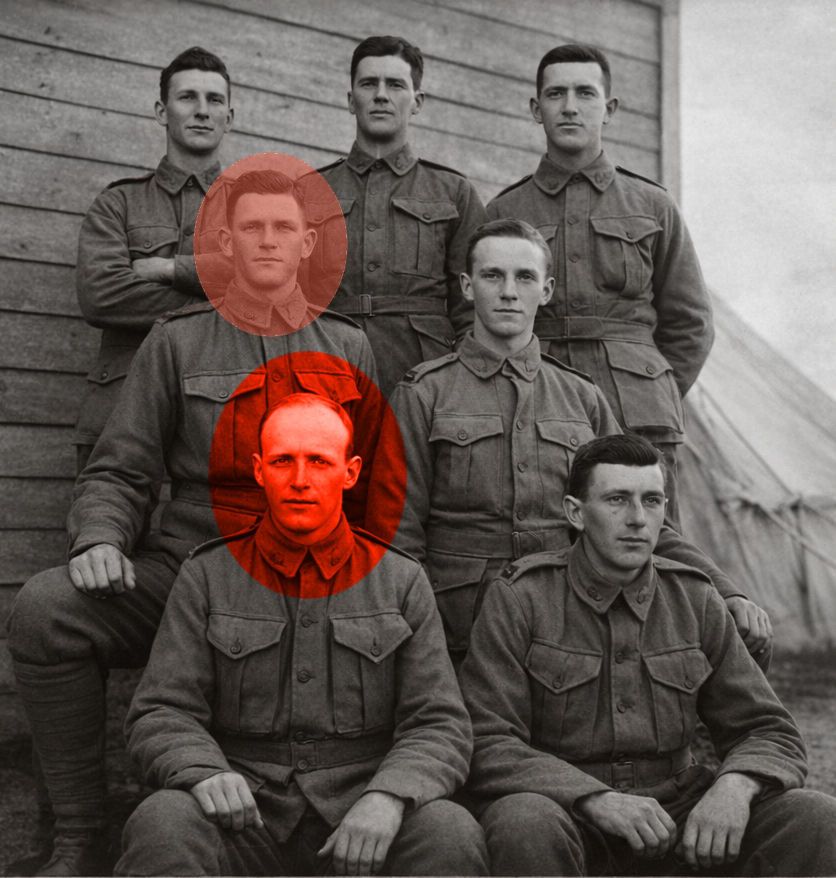
Cleve and Tom (highlighted)
Image 5 of 20
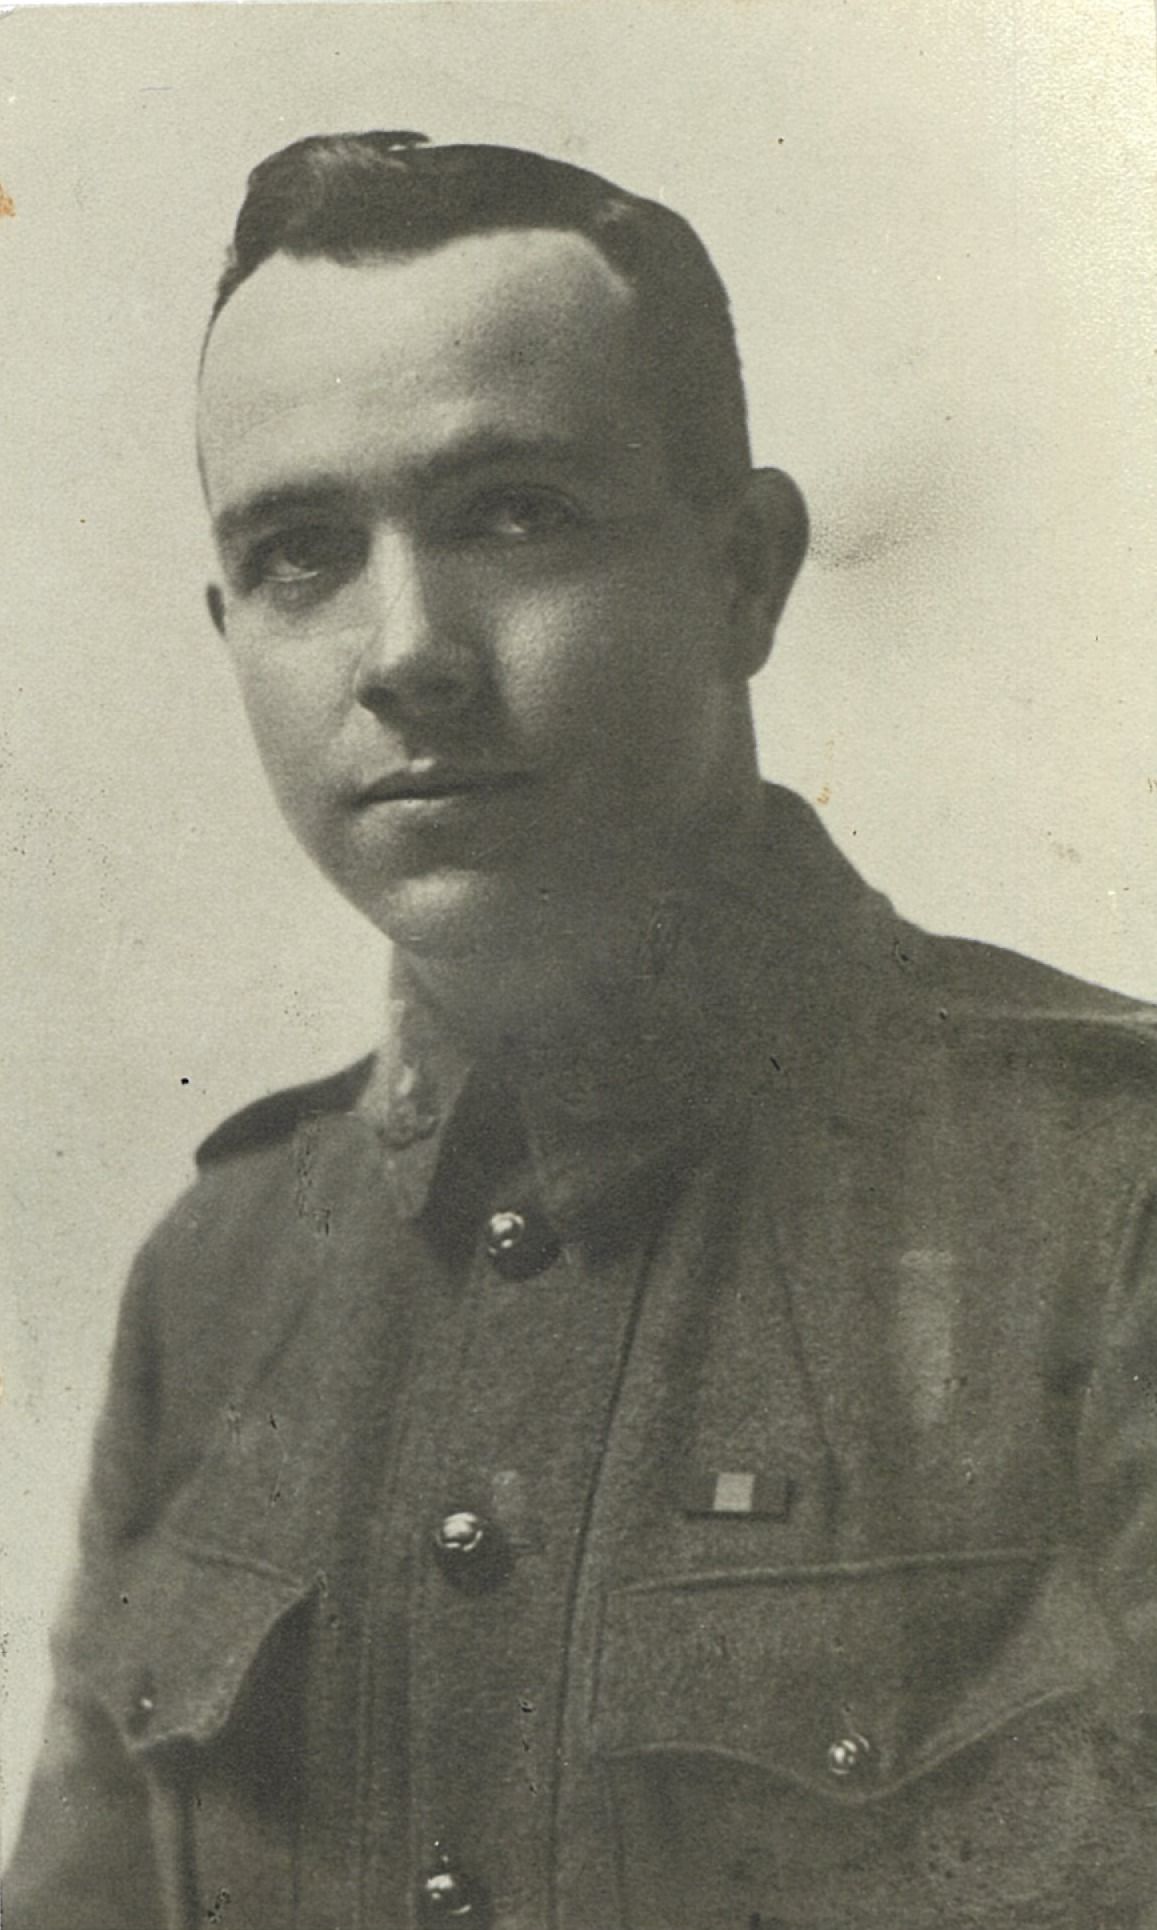
John ‘Anzac Jack’ Moore
Image 6 of 20
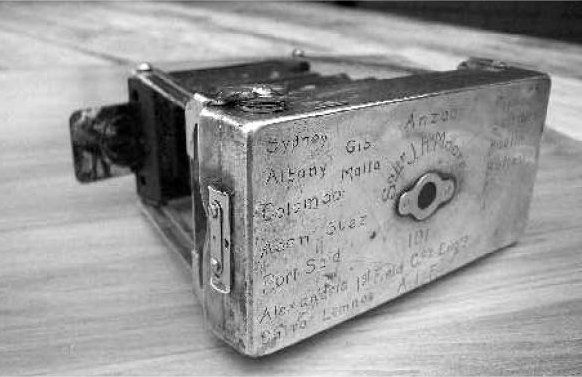
Anzac Jack’s Camera
Image 7 of 20
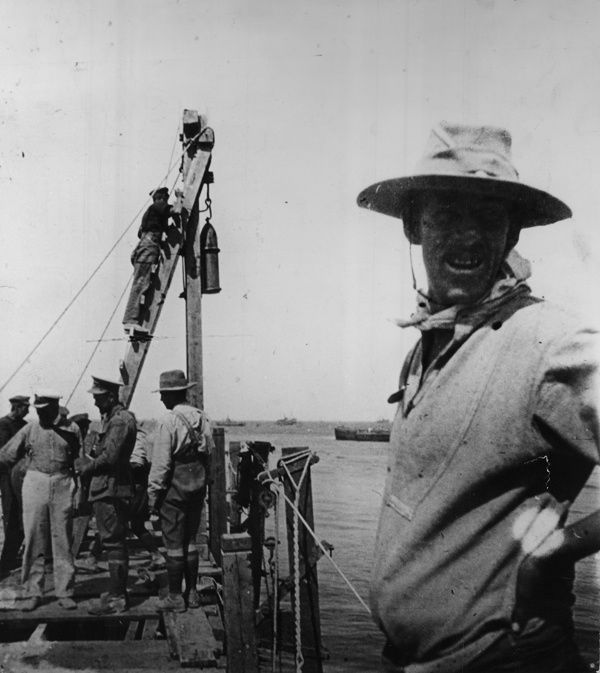
Sappers constructing Watson’s Pier using a spent shell as a piledriver
Image 8 of 20
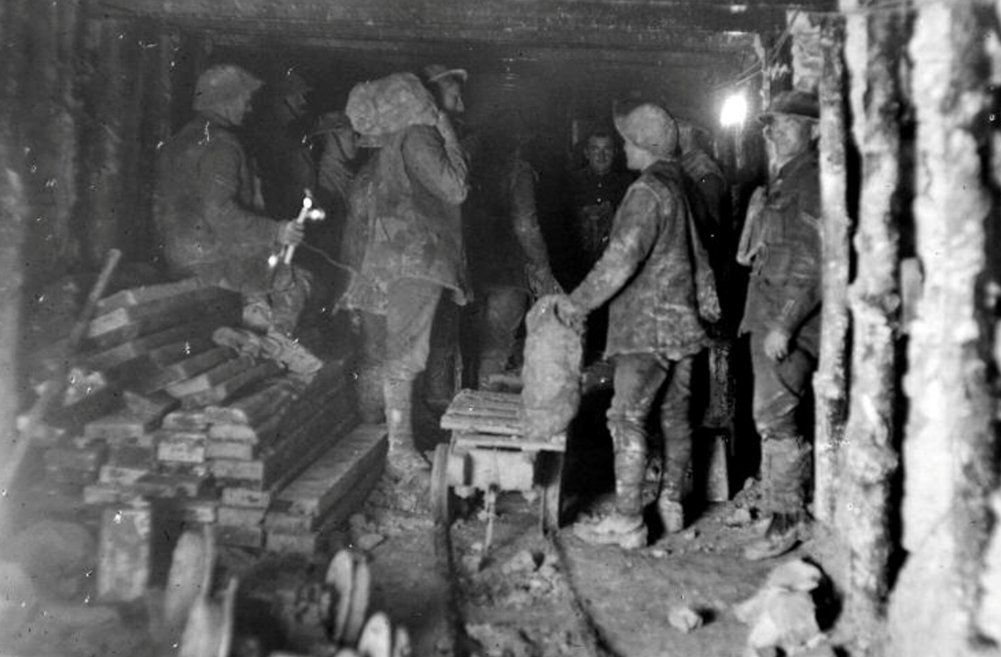
Sappers from the 3rd Australian Tunnelling Company in the Charing Cross section of the Hulluch underground system
Image 9 of 20
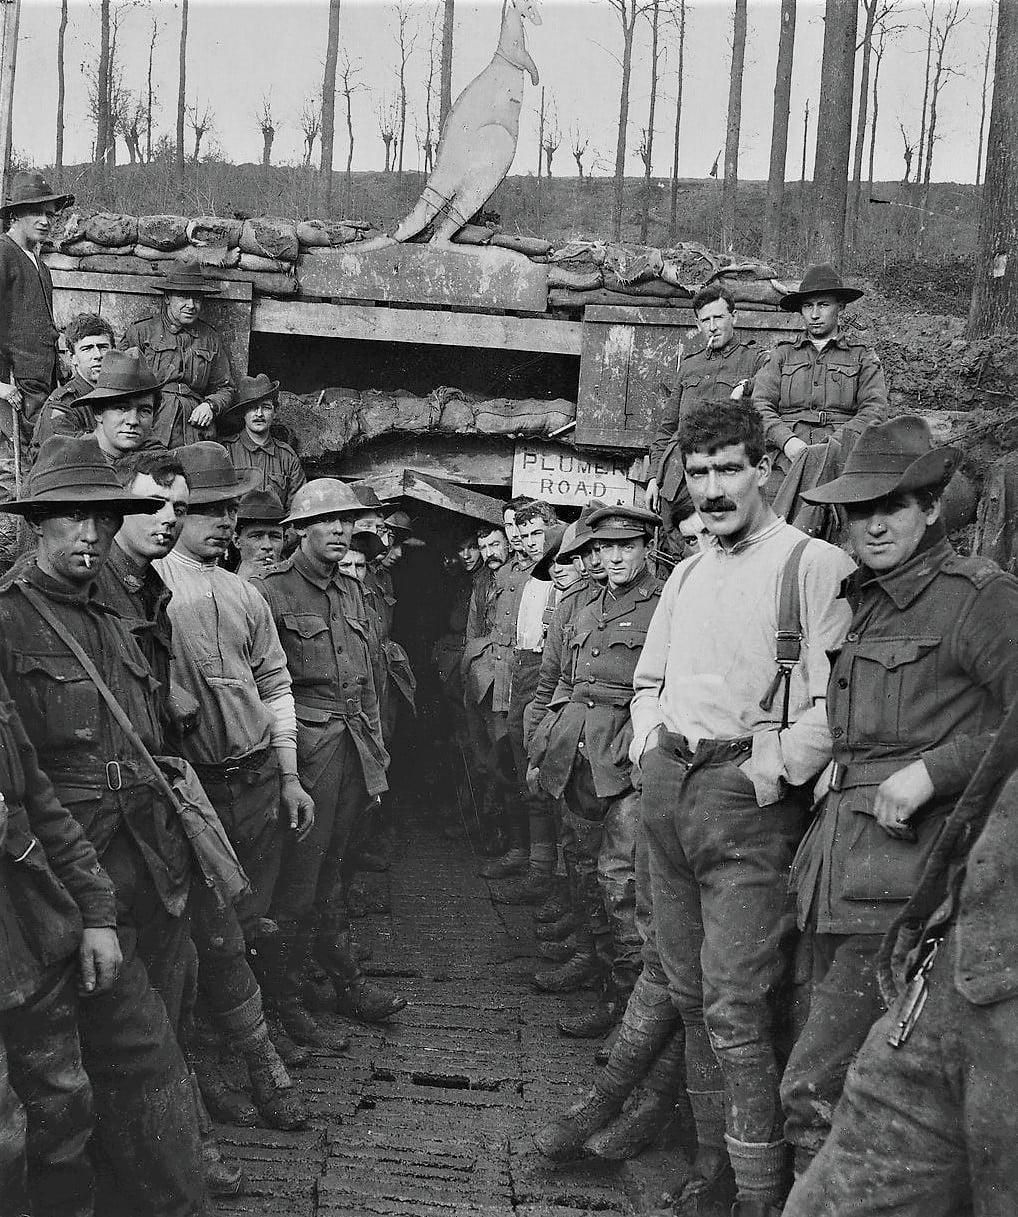
Sappers outside the Wallangarra Dugouts under Hill 63 — note the kangaroo above the tunnel entrance
Image 10 of 20
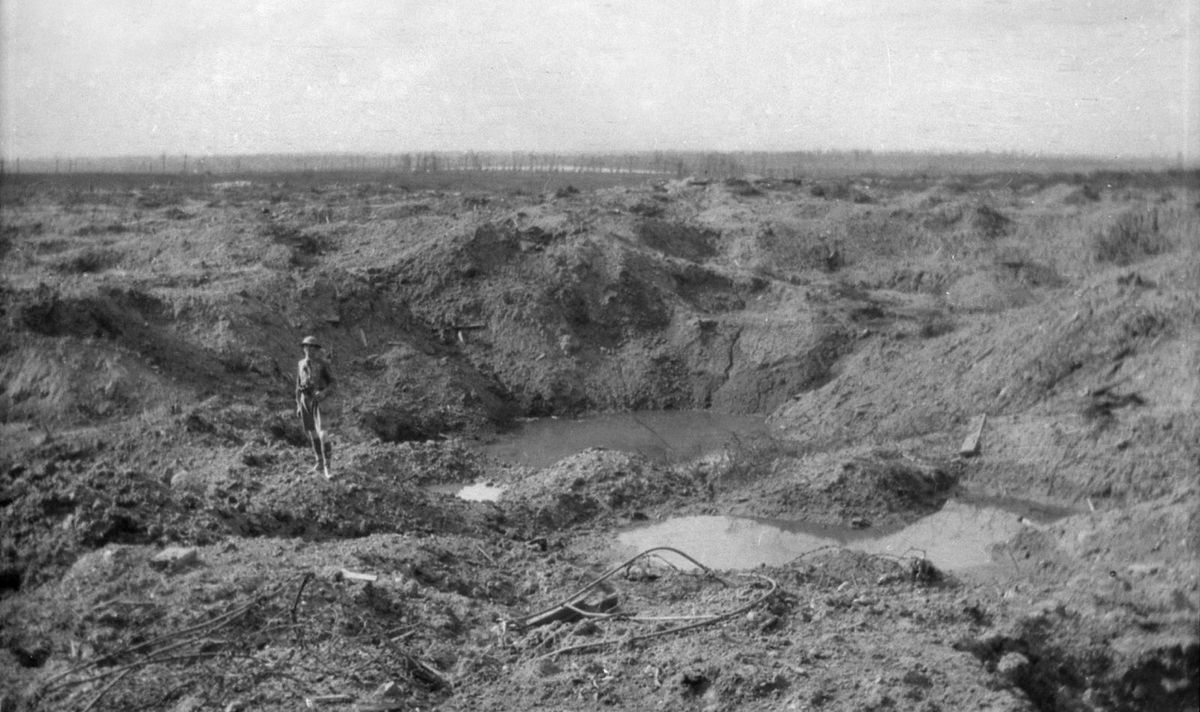
‘There used to be a hill here’ — The huge crater left after the detonation of the mine under Hill 60
Image 11 of 20
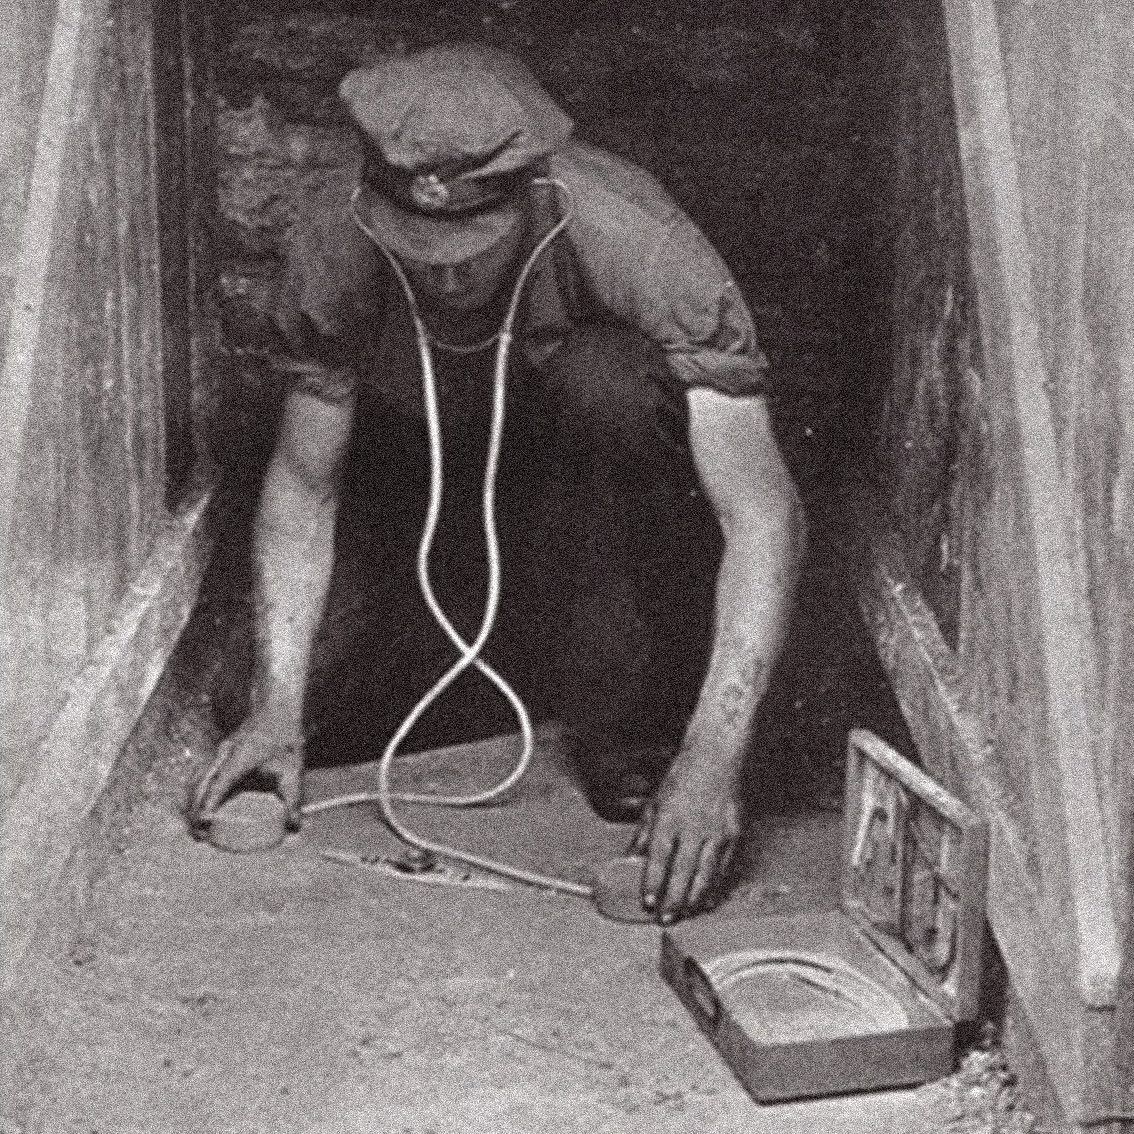
Checking for the sound of enemy tunnellers
Image 12 of 20
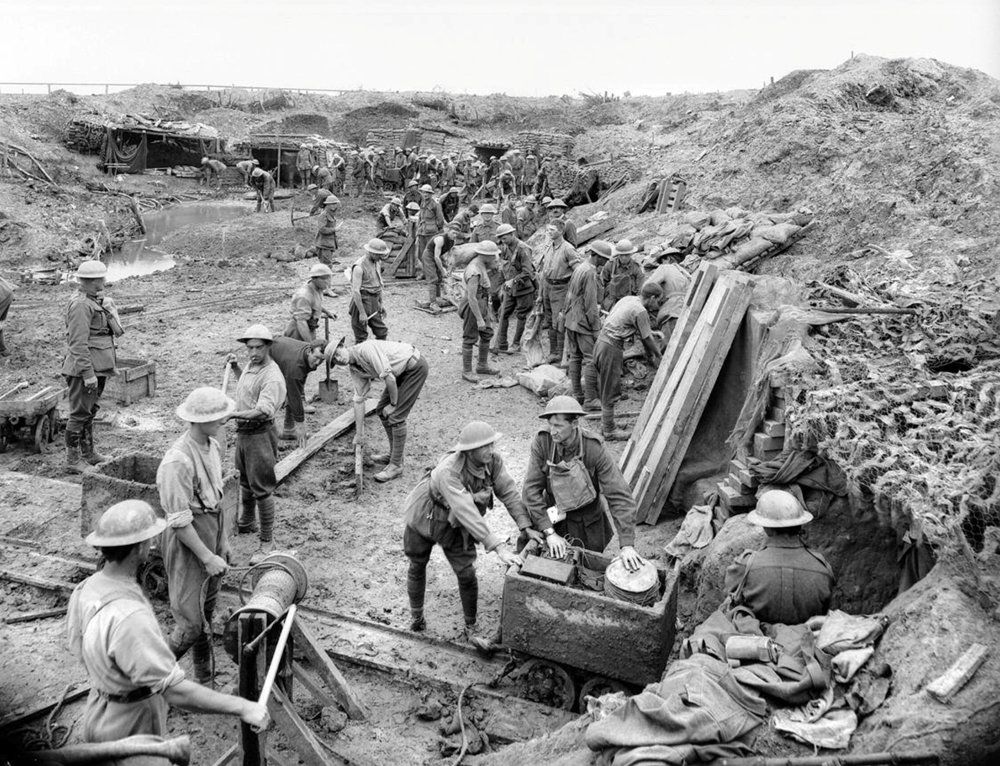
Miners of the 1st Australian Tunnelling Company excavating dugouts for brigade HQ at Hooge Crater
Image 13 of 20
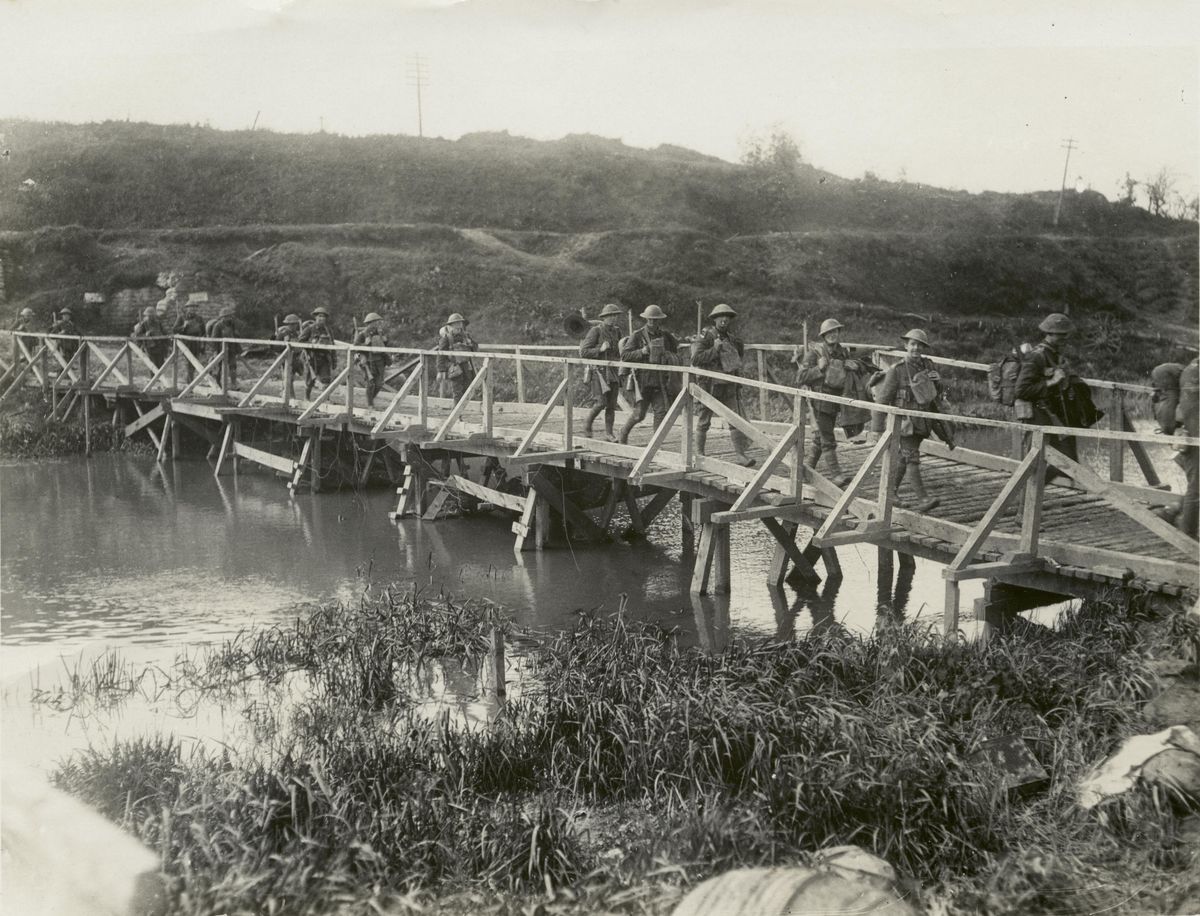
NZ soldiers cross a wooden bridge built by sappers near Ypres to replace crossings destroyed in battle (Henry Armitage)
Image 14 of 20
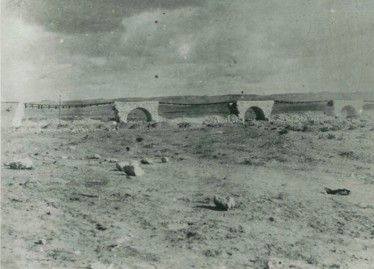
Turkish bridge destroyed
Image 15 of 20
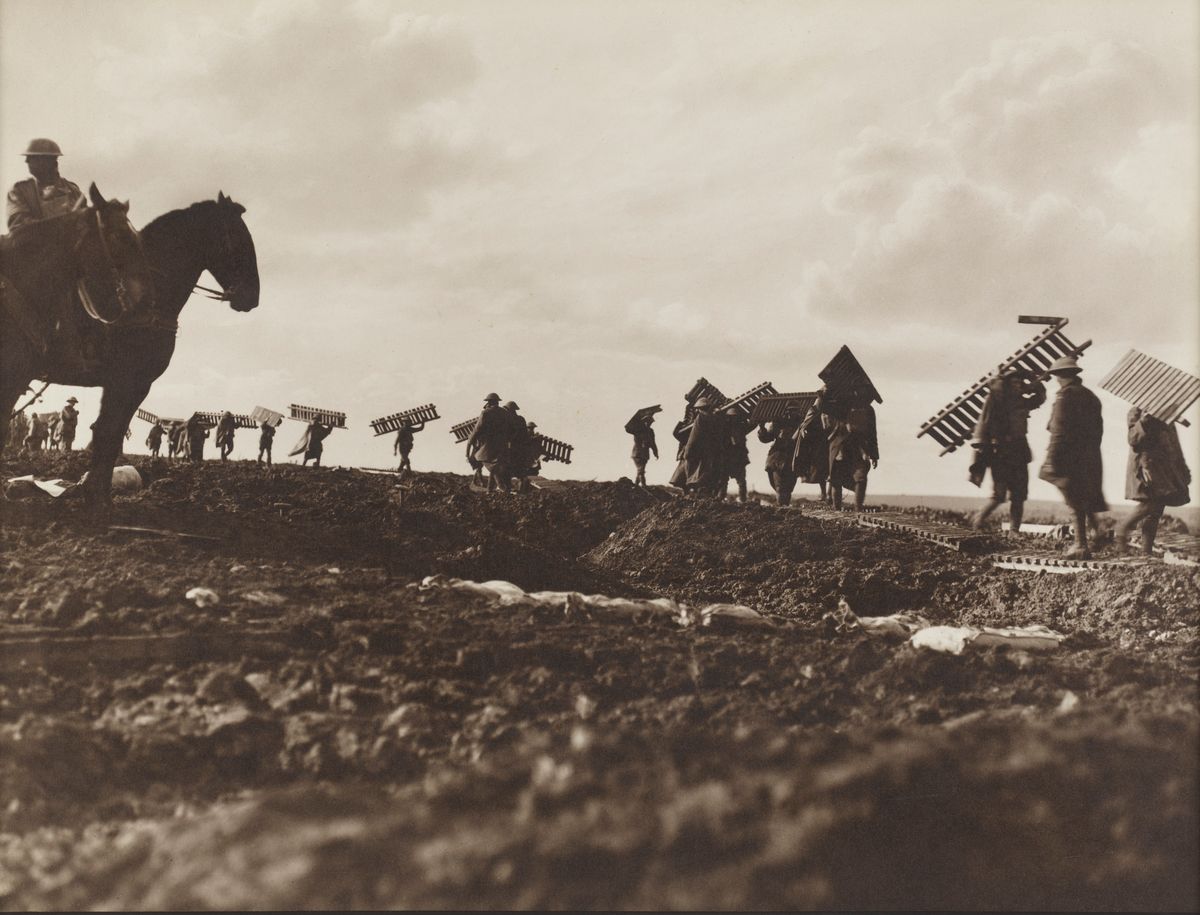
Carrying duckboard sections forward to make a track through the mud (Frank Hurley — State Library of NSW)
Image 16 of 20
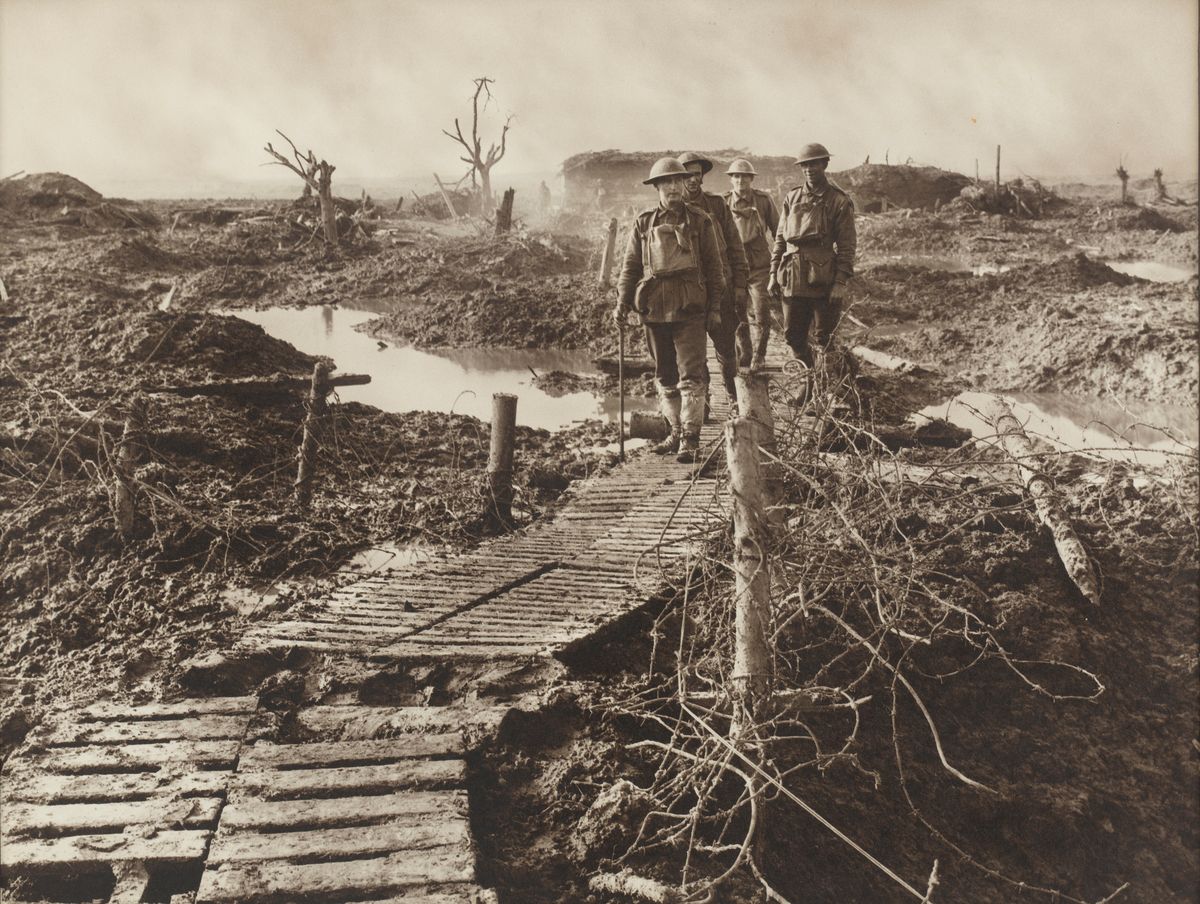
Duckboards offer the only way through the mudbaths of Flanders battlefields (Frank Hurley — State Library of NSW)
Image 17 of 20
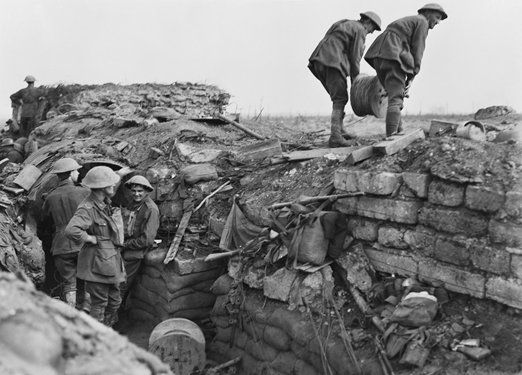
Laying phone lines
Image 18 of 20
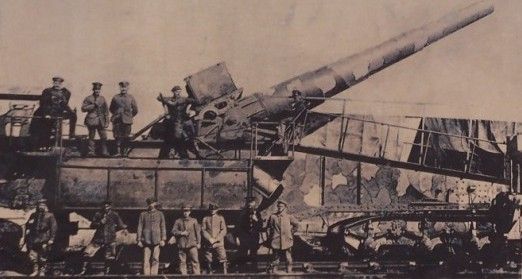
The Amiens Gun — captured by three Aussie sappers, not the British Army, as they claimed
Image 19 of 20
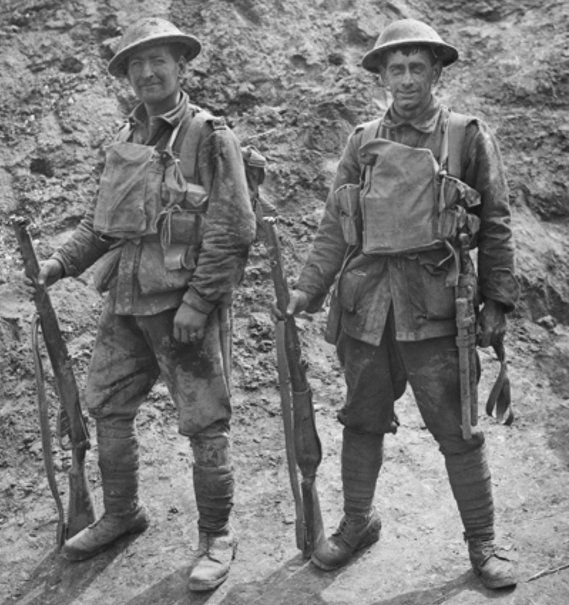
Sappers Bill Campbell and Arthur Dean — heroes of Chipilly Bridge
Image 20 of 20
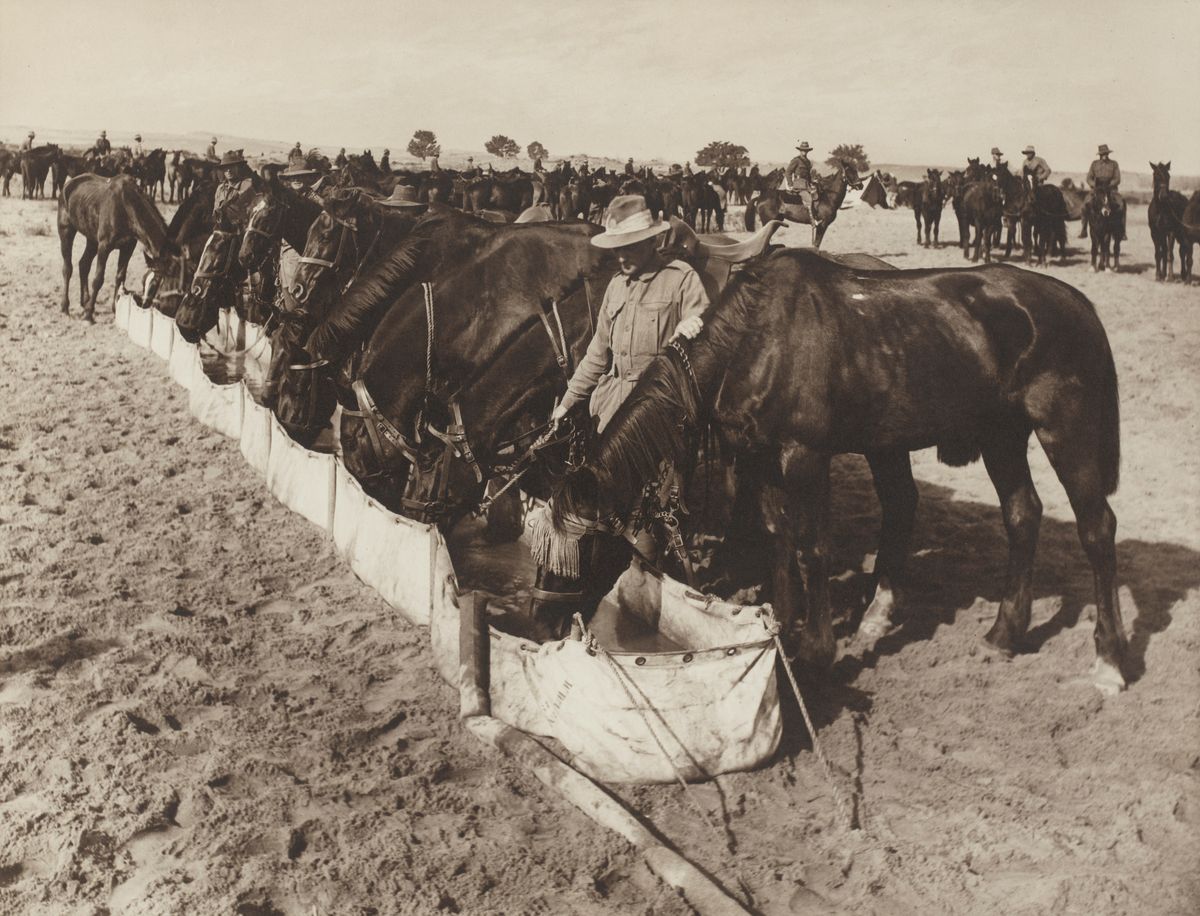
Providing water for men and horses in the desert was a real sappers’ challenge (Frank Hurley — State Library of NSW)